
1. Set up a Caveon ID
- If you already have a Caveon ID, you can skip this step.
- Go to https://scorpion.caveon.com
- Click on “Sign in with Caveon ID”
- Click on "Create Account"
- Fill in the required information in the sign-up form.
- Click the “Create Account” button.
- You will receive an email with a code. Copy and paste that code into the
required field. - Once you do that, you will be brought to the following screen. Here, you may
set up Two Factor Authentication (recommended) and edit other features of
your Caveon ID profile. When you’re ready, you may click on the “Scorpion”
link at the bottom of the page.
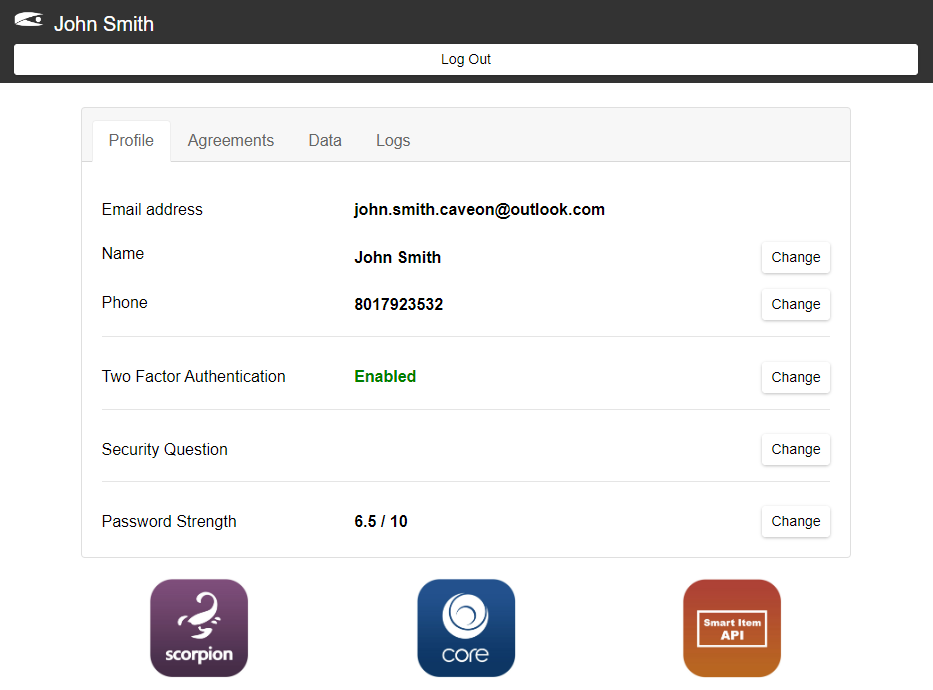
For more help sign up for a Caveon ID account, please see Caveon ID Setup and Two Factor Configuration
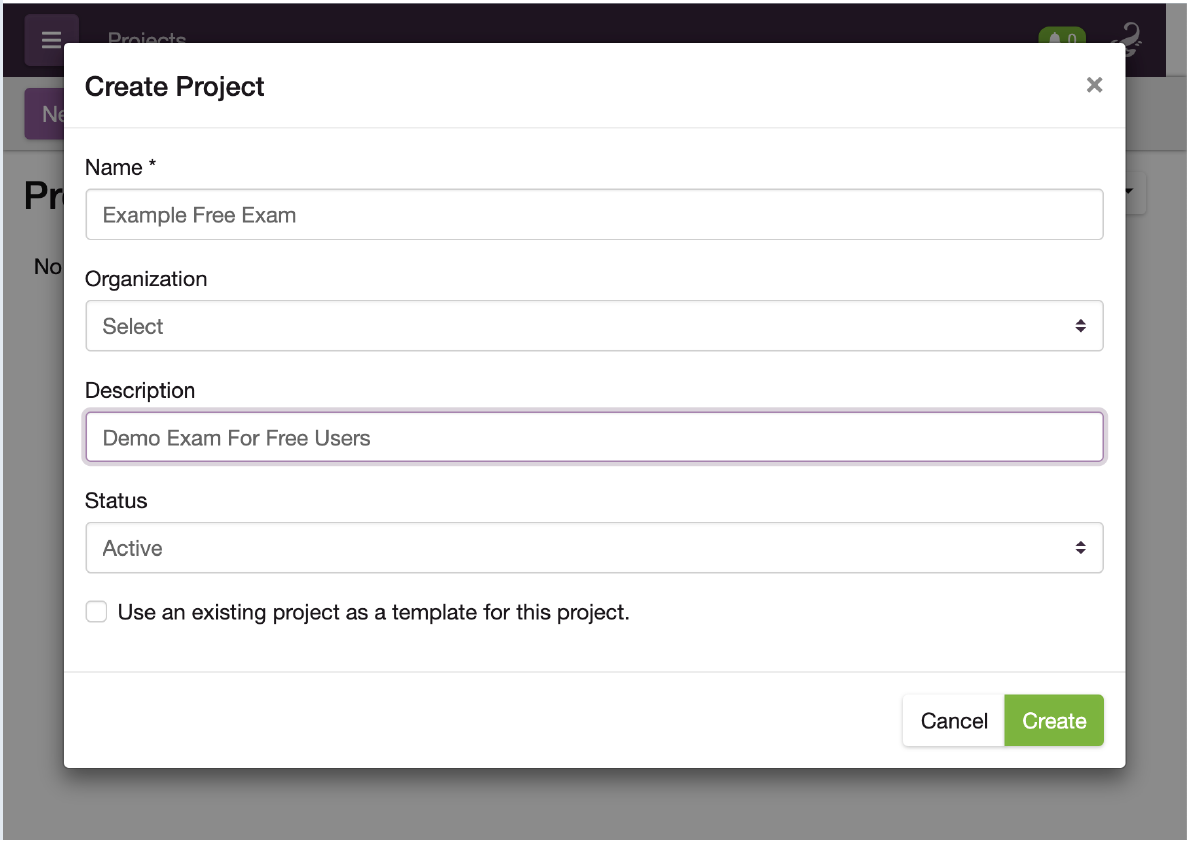
2. Project Page
- When you log in, you will be taken to the "Projects" page, which contains a
single project for each one of your exams. - To create a new project (exam), click the “New Project” button in the top left hand corner.
- Your first time in Scorpion, you’ll only need to add:
-Name: Make this whatever you want
-Description: Make this whatever you want
-Status: Active (default setting) - Then, to enter one of your exams, just click the name of the exam in the
project list.
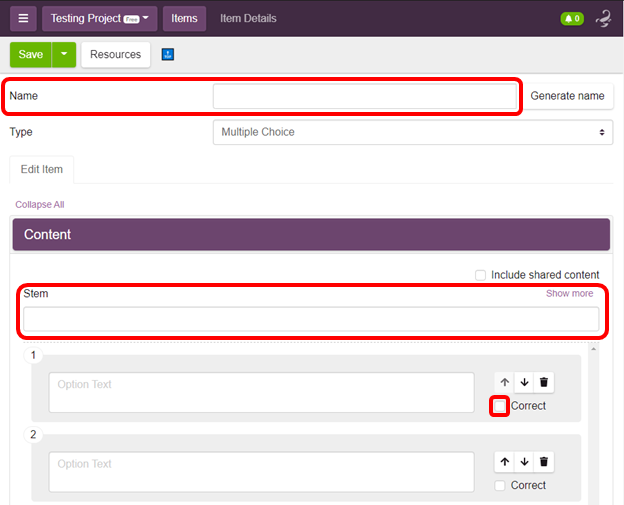
3. Building Items
- When you enter your project, you will select "Items" from the dropdown menu
- Click the “Add Item” button to add your first items.
- From here, if you would like to move around to other tabs, just click the name
of your exam and a dropdown menu will appear.
- After you’ve clicked “Add Item,” you will be taken to the Item Editor where
you'll enter the contents of your item. You'll want to:
-Name the item.
-Select the item type from the drop-down menu.
-Add the stem (the "question" part of the item).
-Add the options (correct and incorrect answers).
-Click the checkbox next to the correct option.
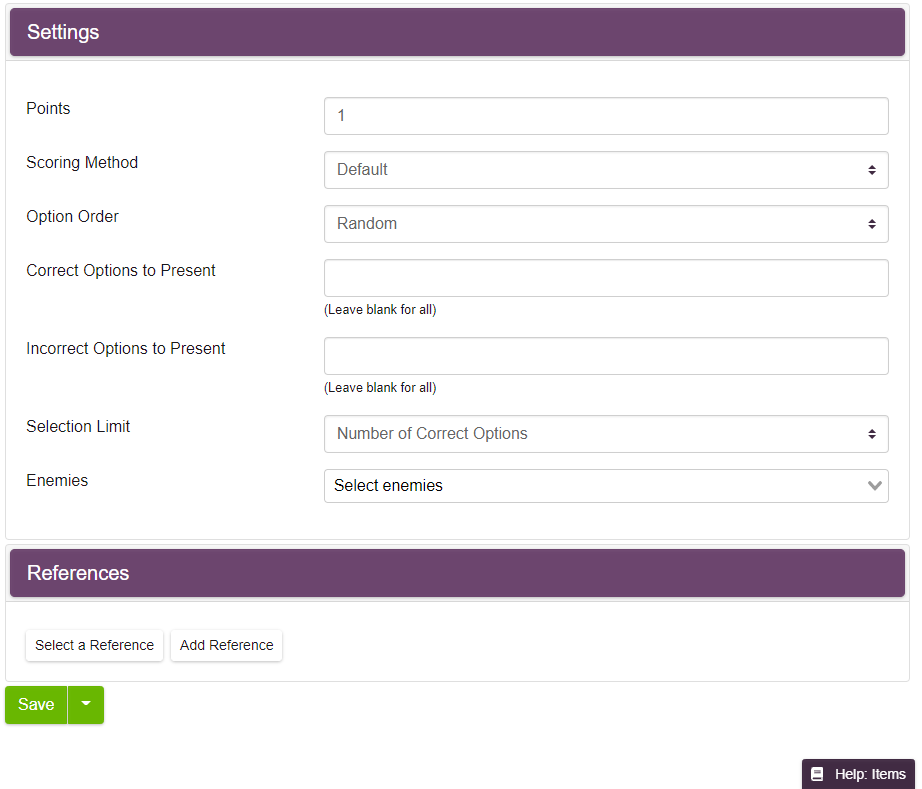
- Farther down the screen in the Item Editor, you will see fields for "References"
and "Item Settings." You may adjust these settings based on
how you would like the exam to deliver to the student. Their default settings
are the standard settings for most exam deliveries.
- After you are finished entering your item’s contents, don’t forget to hit “Save”
in the upper left-hand corner. - Once you save, you will be able to preview, clone, and view item stats and
activity logs.
-"Preview" shows how the item will look to the examinee.
-"Clone" makes an exact copy of the item.
-"Item Stats" shows Classical Item Analysis based on deliveries of your item
in Scorpion. This will be blank when the item is first created.
-"Activity Log" shows all changes to your items and which users made those
changes.
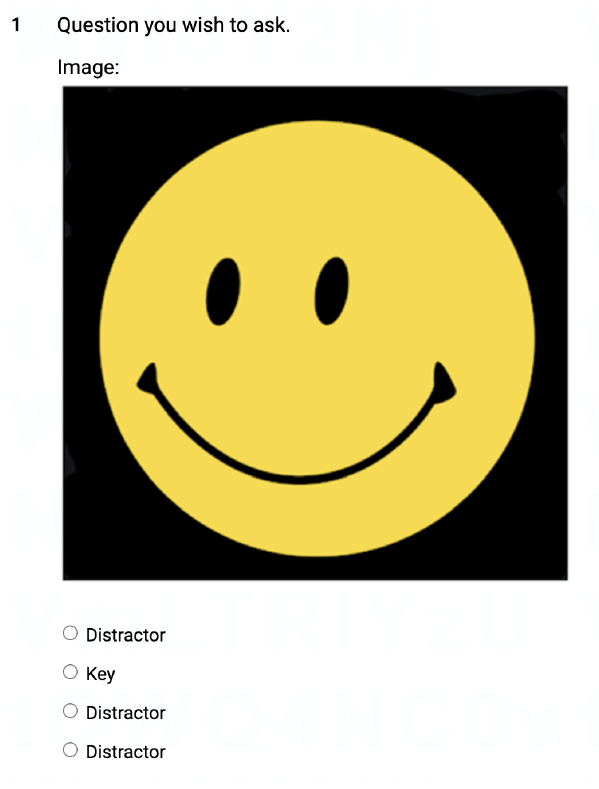
- When you click "Preview," you will see something like this:

For more help with items, please see Creating Items (Exam Questions) in Scorpion
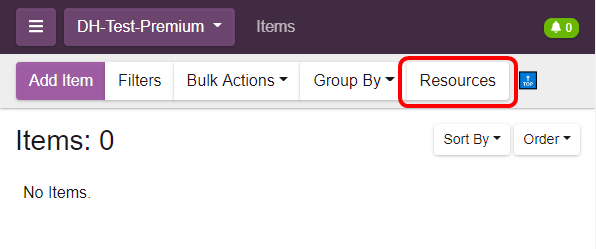
4. Resources
- The "Resources" button is where you will enter your image, audio, and video
files. The "Resources" button can be found in two places: in the "Items" menu
(your item bank) and inside each item's editor page as well.
- A pop-up window will appear.
- Click “Browse” to locate the files on your computer, then click “Upload.”
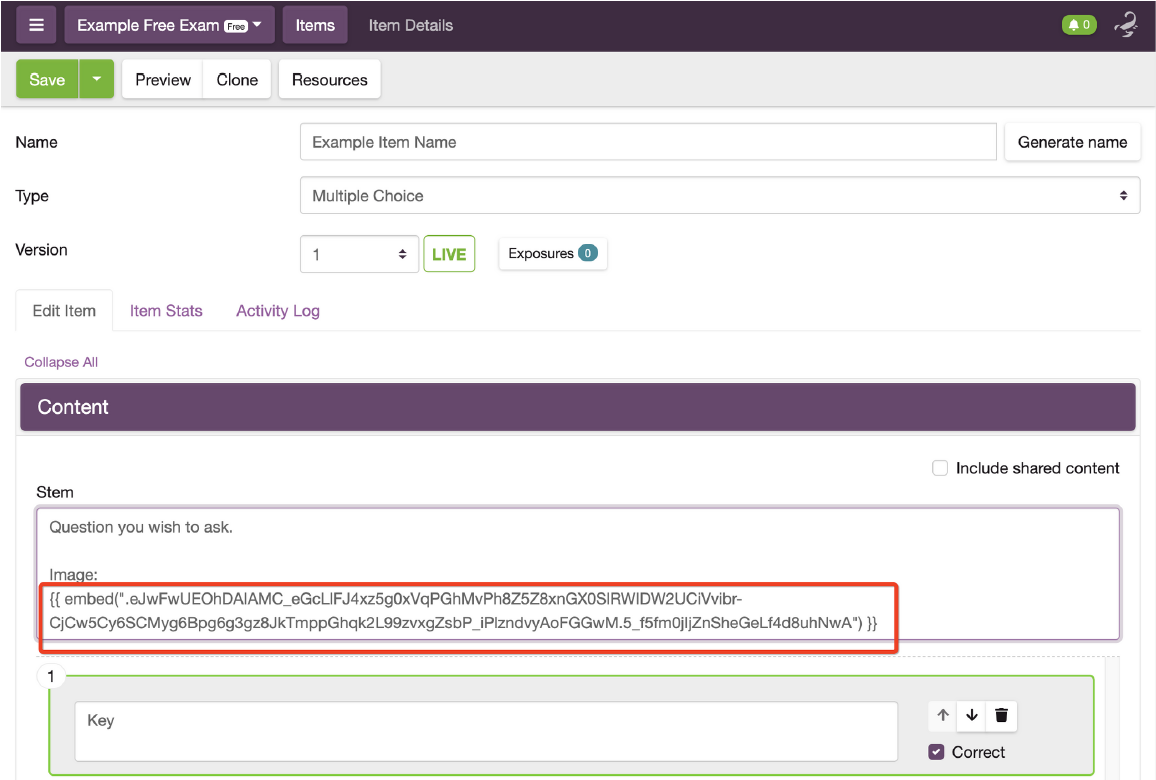
- Once an asset has been added to the "Resources" tab, it can be embedded in
an item’s stem or options (this is done inside the item's editor).
Use SmartEmbed, not URL only.
- Now you can paste that link into your item in the item editor.
- After you click the “Save” button in the upper right-hand corner, you can
preview the item, and you’ll see exactly how your asset will deliver to your
student.
5. Export Menu
- In this tab, you can export your items in a variety of formats for use in other
delivery systems.
For more help with exporting, please see How to Export Data from Scorpion
6. Deliveries Menu
- In the "Deliveries" menu, you can get your exam ready for final delivery to your
students or candidates. For more on deliveries, please see VIEWING EXAM DELIVERY RESULTS - A Guide for Scorpion™ Free Users
7. Adding Teams
- On the "Access" page, there is a tab called "Teams" where you will enter your
item writers and other admins.
- Simply click the “Add” button to add a user by entering their email address:
- Administrators have access to all the tabs in the Scorpion project. They
can write items, review items, set up exam forms, add/delete users, and
change the settings in the "Settings" tab. The admin role cannot be limited. - Item Workers have access to only the "Items" tab. They can create and edit
items. - Delivery Workers have access to the deliveries page and can view and create deliveries.
- Proctors can view active deliveries in exam watch.
- Translators can view and translate exam content.
- You will be allowed 5 users in your free workspace.
For more on Access in Scorpion, see: Managing User Access in Scorpion
Comments
0 comments
Article is closed for comments.